Shopping Bag
0
- No products in the cart.
Songs carry memories; from the song you always listened to at high school to the song of your first dance at your wedding. There are some songs that speak to your heart in the most magical way possible. With sound wave print, people can capture their song/ audio and visualize it in a unique way.
To understand what exactly Sound Wave Print is, we need to firstly know how sound is made. When we talk, air particles around us vibrate. These particles in turn cause air particles around them to vibrate, and so on. The louder we talk, the bigger the vibration and so it travels much further. The vibrations are then captured by microphone and turned into sound waves.
Sound Wave Print is the visualization of these sound waves. Like fingerprints, it is rare to have two pieces of sound waves looking exactly the same. Even with a minute difference of sound in the background will completely change the way the sound wave looks.
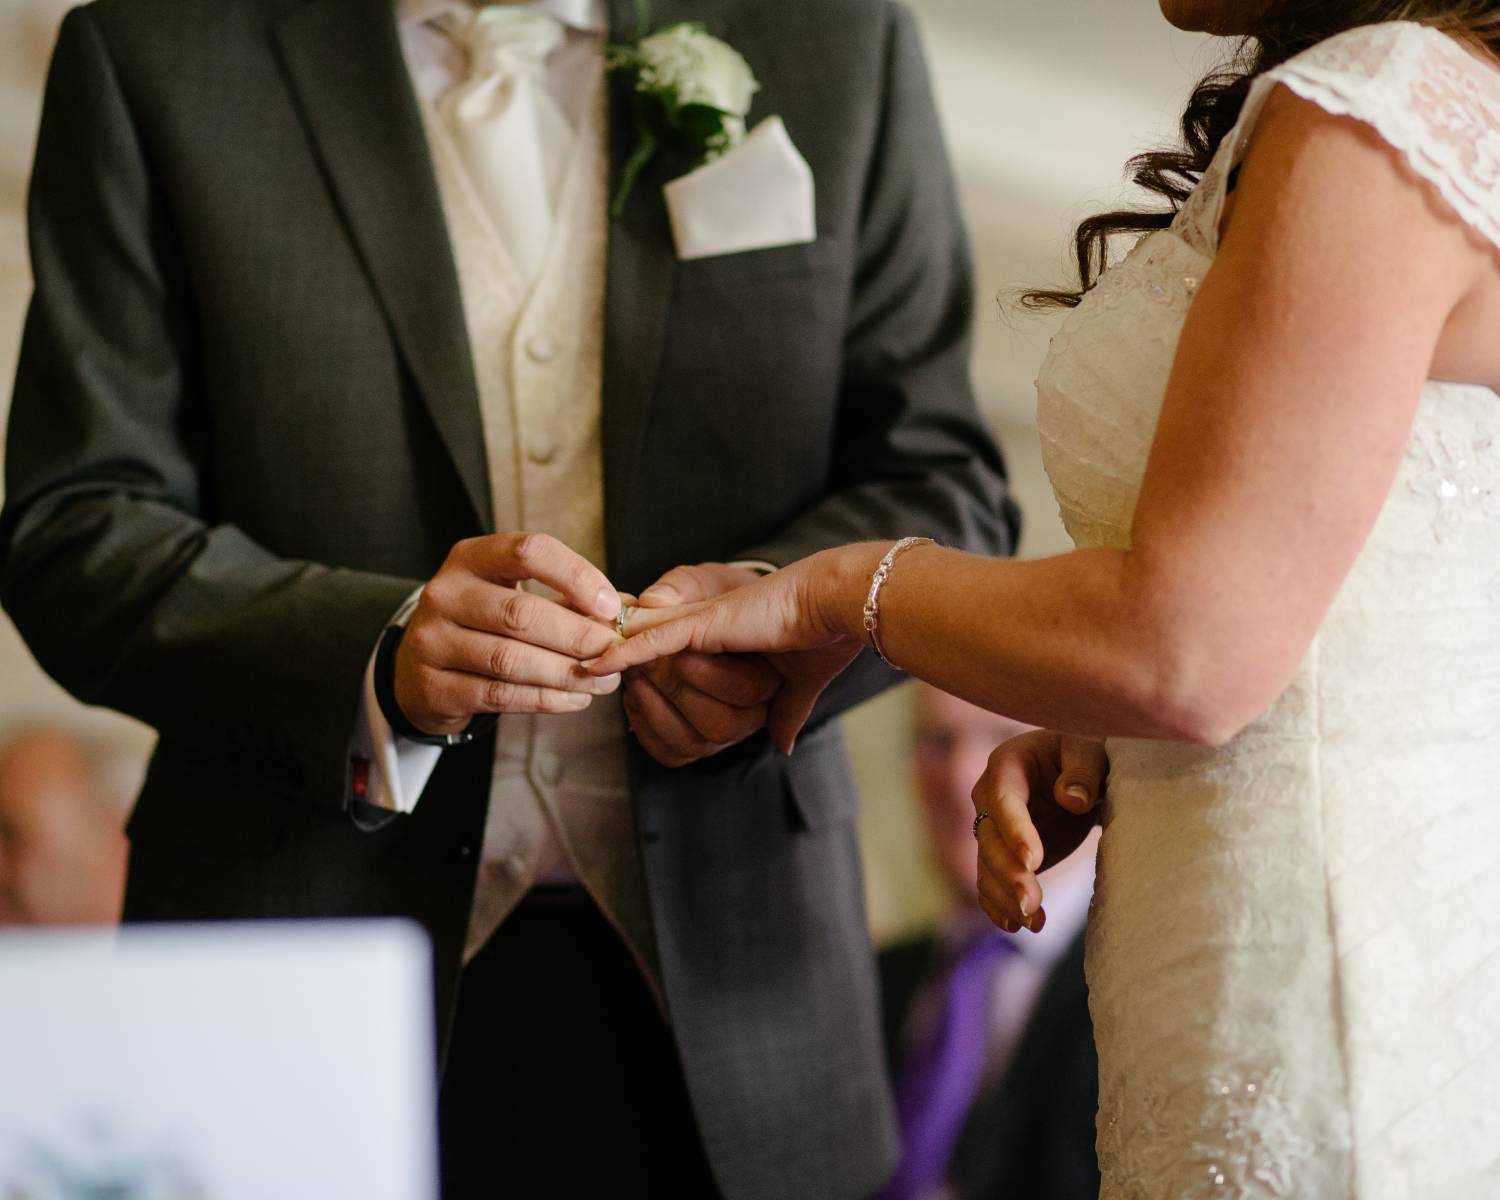
Sound Wave Print is an unique way to capture and cherish memories that hold dear to you. Magical moments such as wedding vows, a child’s first laugh or a personalised message from parents for a milestone birthday can create a wonderfully meaningful gift.
Sampling is a technique to transform these sound waves into digital signals (binary like zero and one). The sampling rate determines how often the computer takes a reading of these sound waves. Not surprisingly the higher the sampling rate, the better the quality of the signal. Nowadays audio is sampled at a rate of tens of thousands of times per second, which makes the audio almost indistinguishable from the original sound.
Once these sound waves transform into digital signals, an average of the highest and lowest is taken in the recording, this process is called Normalization. For example if there is a sudden loud sound in the recording, the loud sound will be too loud that other sounds in the recording are suppressed and diminished. Normalization makes sure the data fits within the highest and the lowest range of the signal making that loud sound seem less loud. More importantly it makes the visualisation accurate.
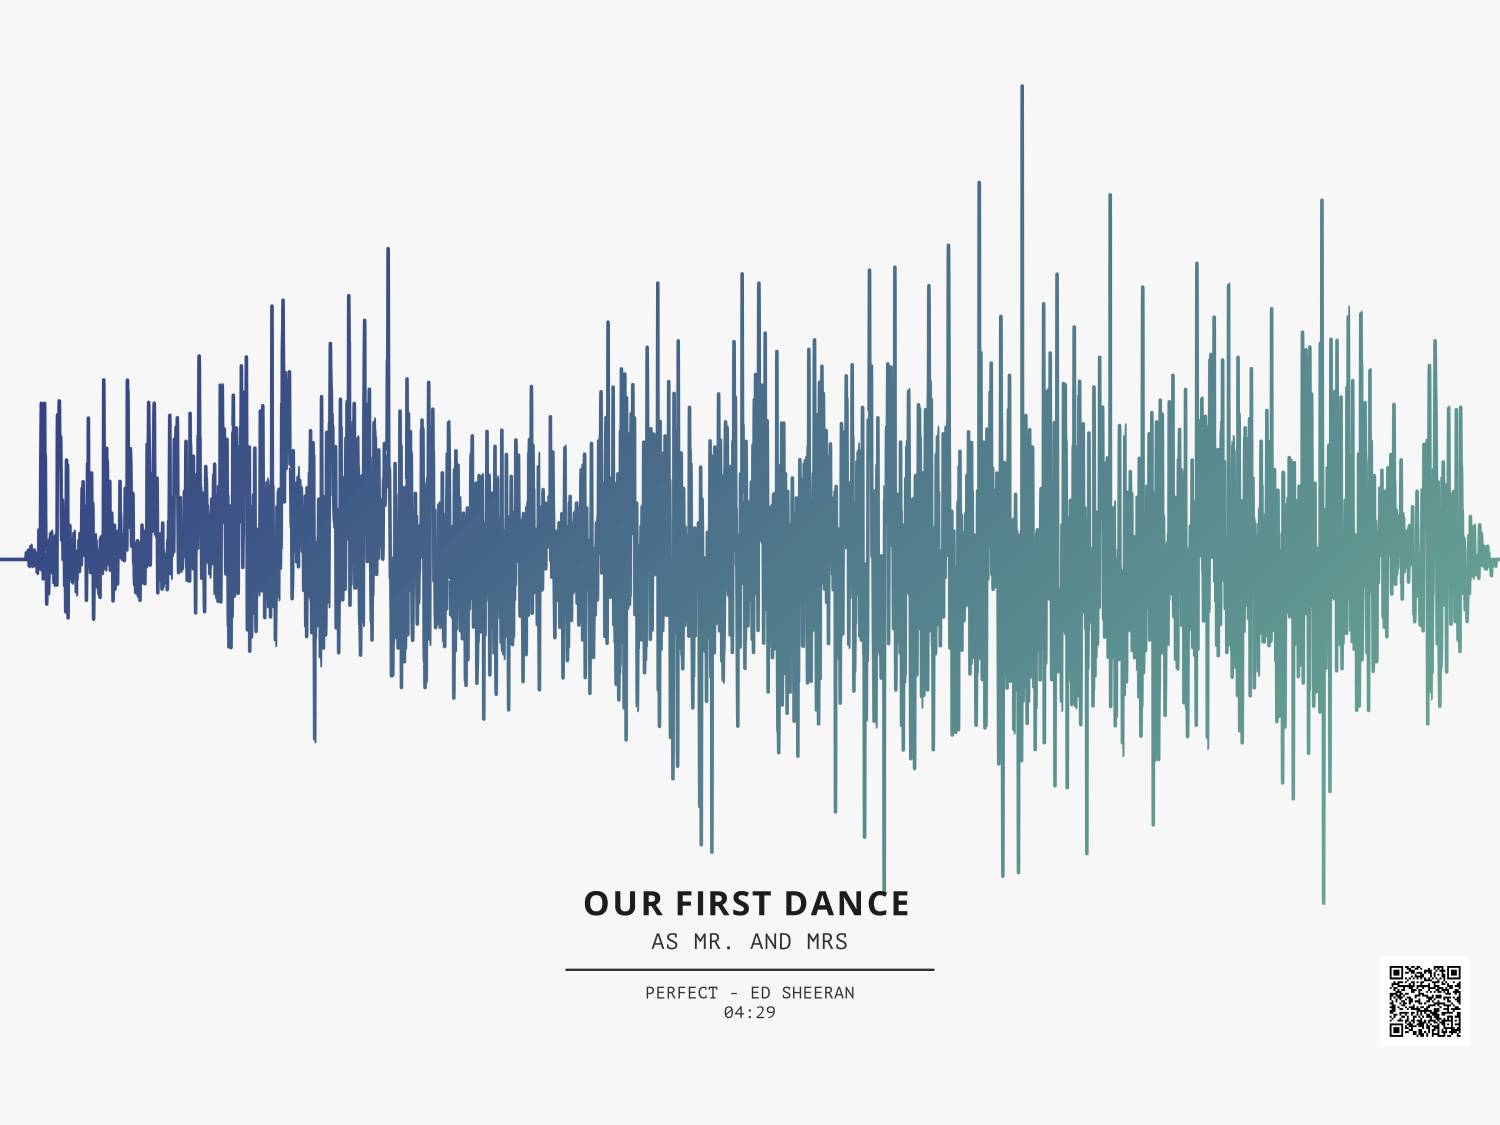
After we have processed the digital signals of your song, we can then visualise using different themes. We have a variety of themes and features for you to choose from allowing you the creative freedom in personalising your piece of Art.
Sound waves can be shown flat (Theme Echo) or overlaid for a visual depth (Theme Wave and Curve). Perhaps a wigger diagram (Theme Script) similar to a heartbeat is a more appropriate look to show the first heartbeat of your child. You have the freedom to choose themes, colour and font the perfect look for your Sound Wave Art.
After a Sound Wave Print is visualized, you may still want to preserve the original recording on the print. We have added in we an option to feature a QR Code on your print. The QR Code is a unique to your print and can be scanned by most smartphones. Once scanned, the original recording will play revealing the sound of the Sound Wave Print.
|
|
 Free shipping to most countries
 Visualize your audio
 100% Personalizable